Microsoft announced opensource editor for Ubuntu i.e. visual studio code. In this post I would like to explain about how to install visual studio code in Ubuntu and install extensions for PHP
development.
How to install visual studio code in Ubuntu for PHP development by Anil Labs
It is easy to use and have plenty of options for write code.
Download and installation Steps:
Download from the URL
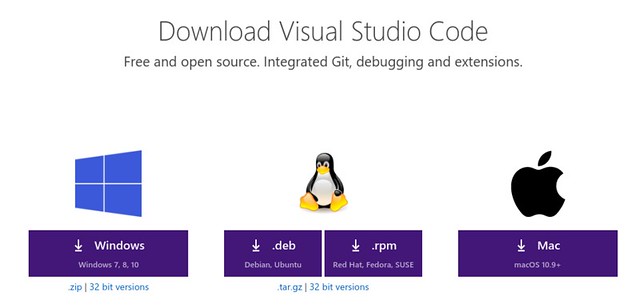
How to install visual studio code in Ubuntu for PHP development – download by Anil Labs
.deb will be downloaded to your system. Please double click on .deb file and open it in Ubuntu Software and click on install then installation process will be started.
Once editor installed then open it by search ‘visual studio code‘ then editor will open.
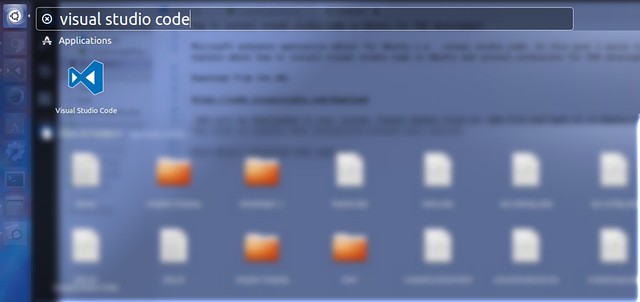
How to install visual studio code in Ubuntu for PHP development – search by Anil Labs
Now we will like to learn about how to use it for PHP developments.
Welcome page will be open like below
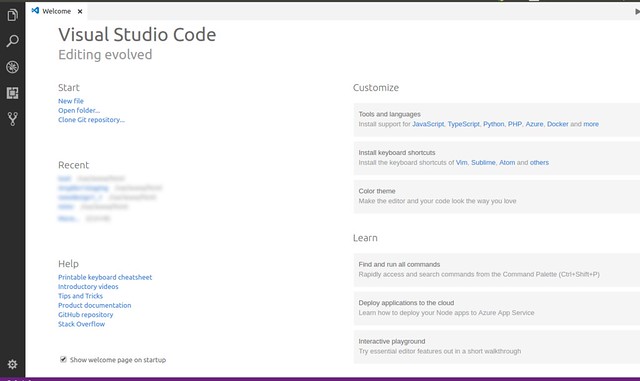
Visual studio code – welcome by Anil Labs
Try to search and install extensions
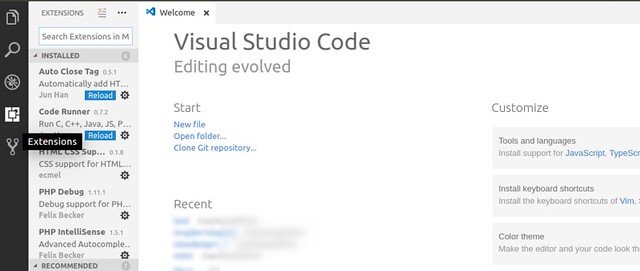
Visual studio code – extensions by Anil Labs
1. Auto Close Tag:
Automatically add HTML/XML close tag, same as Visual Studio IDE or Sublime Text does.
2. Code Runner:
Run code snippet or code file for multiple languages: C, C , Java, JavaScript, PHP, Python, Perl, Ruby, Go, Lua, Groovy, PowerShell, BAT/CMD, BASH/SH, F# Script, C# Script, VBScript, TypeScript, CoffeeScript, Scala, Swift, Julia, Crystal, OCaml Script, R, AppleScript, Elixir, Visual Basic .NET, Clojure, Haxe, Objective-C, Rust, Racket, AutoHotkey, AutoIt, Kotlin, Dart, Free Pascal, Haskell, Nim, D, and custom command
3. HTML CSS Support:
Visual Studio Code CSS Support for HTML Documents
5. PHP IntelliSense
Advanced PHP IntelliSense for Visual Studio Code.
Once we are installed all extensions(Not necessary to install all extensions) then we can start using IDE for your development.
I write this post by using under Ubuntu 16.04 and Visual Studio Code 1.16


1 Comment
How to change the Jupyter start-up folder in Ubuntu - Anil Labs · March 9, 2020 at 11:21 am
[…] Browse the file location and open it any editor […]